Visa could cause drama. It can be an exhausted process indeed, but yet for me it’s just one of the fun part of planning my trip. Oh yeah, most of my friends endured additional drama when somehow they had chosen to applied through commercial travel agents. So you will need to consider, whether you want to apply it by yourself or through a travel agent – which it is going to cost you more! (ouch!)
Applying visa for me, abides to a simple rule. Which is, follow ALL the procedures ACCORDINGLY. Well, visa is undoubtedly one of the foremost document we all traveler need to acquired before entering certain countries. Well, I am only going to focus on sharing my story when I recently applied for Schengen visa via Netherlands Embassy by myself for tourism purpose. Schengen visa itself is needed for traveler who wish to explore EU countries. For some countries, you can directly making an appointment through the embassy’s website. But for some other, requires you to booked via appointed agent (e.g France through TLS). Anyway, thorough and updated information will be provided on the embassy’s website.
Few tips for applying for Schengen are:
- Apply for visa at the embassy of the country where you first entered or stay the longest. Certainly it would be best if both are the same country. Oh and pay attention also to your transit country, will it be in one of the Schengen territory like, Frankfurt perhaps? If it includes in the EU territory, although you will not staying there, you are still going to pass their immigration. Therefore, apply through German Embassy would be great. Please pay attention, yes?
- Make sure all the information and procedure provided in the website understood thoroughly. From making an appointment to documents required for the purpose of your traveling.
- You can start to apply for visa for a minimum two weeks and maximum of 90 days before your departure.
So, here’s my story when I applied for Schengen at the Netherlands Embassy…
I always managed my visa application individually, I find it interesting and challenging to managed it by my own. It makes traveling more fun since you are going to experience all the process, by yourself! Especially for this particular trip, when I browsed here and there, many travelers said that applying through Netherlands Embassy representative in Indonesia was one of the easiest!
First, I checked the Netherlands’s Embassy website and read thoroughly all the procedures and of course prepared the documents required. Well here’s the document’s list you will need to prepared:

1.Passport
Make sure that your passport is still valid for a minimum 3 months by the time you leave the Schengen territory (the case might be longer, depends on the country).
2.Green or Red Form
Will be provided later from the Embassy itself later on.
3.Appointment Confirmation
You are going to received this through your email by the time you had chosen the date and time of the appointment. It is MANDATORY for you to print out the confirmation. Here’s the link for individual applicant. Please keep in mind, if you canceled the confirmed appointment for whatever reason, you will NOT be able to make a new appointment for the next three MONTHS! So please do make sure that you are available on the date you requested beforehand.

4.Visa Application Form
The form will be send it to you along with the email confirmation of your appointment with the embassy. Completely filled in and two times signed (on page 2 and 3). Confused to fill it? Here some assistance I find it very helpful.
5.Traveling Plan Form (Lembar Perjalanan)
The form will be provided from the embassy also. Fill out Netherlands as your longest staying country, make it as make sense as possible. You might attached your draft itinerary (optional) in order to be more convincing.
6. Copy of Travel Insurance
Netherland Embassy requires you buy the insurance that valid for the whole period in the Schengen territory that could cover up a minimum coverage of €30.000, – including medical insurance and repatriation cost. Copy of the insurance should be attached to the application and the original insurance should be shown to the embassy. To save you some time, I bought mine from AXA simply for its practicality and competitive price. Click and buy, tada! Sent through your email the next 10-12 hours after you had settled the fee. You might try here. I opted for the Smart Traveler – Platinum which cost me US$ 43 (equals to 588,143 IDR) that covers until 15 days period of travel.

7.Copy of Flight Reservation
Some of traveler (like myself) might had bought the confirmed ticket already long way before applying for the visa – well you the airlines’ promo kinda’ hard to predict, right?. Though the embassy itself does not making it a mandatory for you to buy the ticket firsthand until you succeed acquiring the visa (nice, huh?). But some, might just booked the unconfirmed ticket. Well, I have no experience in proceeding unconfirmed ticket, but you might find this blog helpful.
8.Employer Statement
Since I am an employee, I need to request for an employer statement which basically confirming three things, which are:
1.I am a valid employee in my company with certain years of work experience
2.Guarantee statement that I am going to BACK to work once I had finished my leisure
3.All cost will be provided by myself
9.Financial Prove
Below are some information regarding the financial statement you will be asked to provide:
(i) If the applicant is self-funded for this trip then he should have minimal €34 per day (vary according to country’s policy). Which means for me, who stays for 11 days, I just need to prove them that I currently have a minimum of €373 (equals to 6 million IDR) in my bank account/any supporting financial statements. (while most travel agents, will be asking you for an insane figure you need to prove which I don’t know understand why).
(ii) Financial prove can be shown from the copy of bank account / bank book for the last 3 months and / or salary slip for the last 3 months. I have an account at Bank Central Asia, and If you request the bank statement not in your origin bank where you first opened an account (like I did), it would takes three days to proceed (maybe more). But this one customer service who handled me, clever enough to managed it by print it directly from my e-banking account, and have it officially stamped and signed by the Branch Manager. Voila! I can have my bank statement at the same day (Bravo Bella!). Although I am employed, I did not provide them with salary slip though. I think the bank account has proven enough, and it did.
10. Hotel Reservation
This might be tricky if you want to stay at relative’s house or via airbnb there. And some embassy will NOT approved any reservation from sites like booking.com, that has ‘pay later’ feature. So, you need to find hotel/inn that has flexible cancellation policy. I used Holiday Inn Express for my so-called hotel reservation and that I can cancel later after they grant the visa if I somehow changed my mind. Anyway, You can see the confirmation email I received below. You can print it directly, easy breezy!

11. Recent Photograph (1 piece)
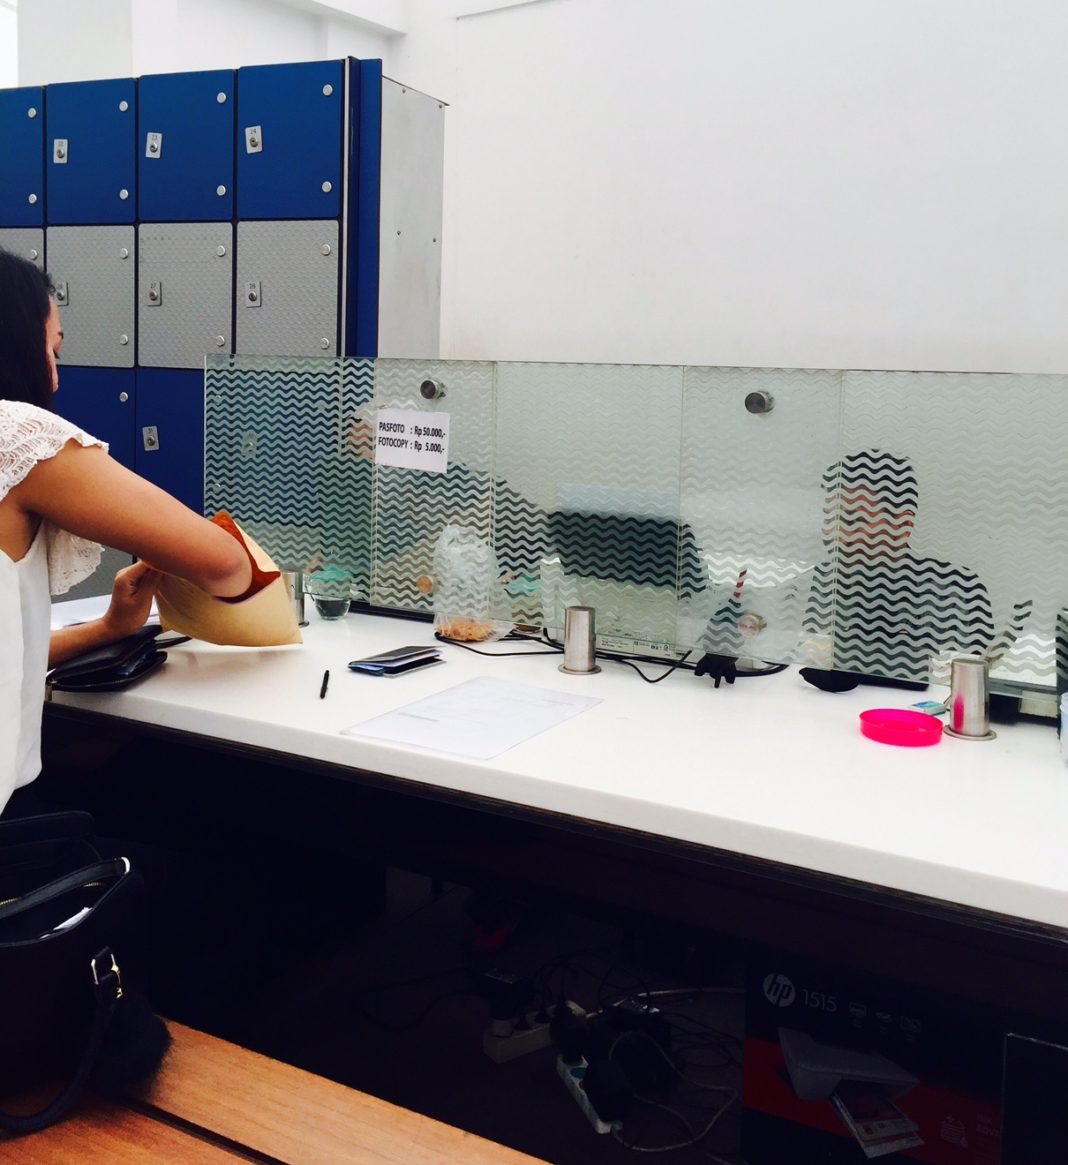
There are so many rules for taking photograph required by the embassy itself. So when I found out that they are providing photo booth there, I decided to took the photo shoot there. It might saves you some money than risking your photograph you had took outside, being rejected. It cost 50,000 IDR for 4 pieces of photographs. Oh and they also provide a photocopy service if somehow you forgot to copy some necessary documents.
Those are the mandatory documents need to be provided, in addition you can add:
1. Family Card [Kartu Keluarga]
It is a family card which explains your whole entire family members. However, I did not provide this since I am traveling alone and already over 18-year-old.
2. Itinerary Plan
List of your trip itinerary in the country. If your arrival and departure location are the same, although you might go for another countries in the EU, I suggest you make your itinerary just for that one country only. You do not need to get through all the hassle explaining other countries that you might changed your mind later on.
3. Relevant and Valid ID
Copy of my citizen ID Card and an employer ID Card just to be more convincing. But it is not required by the embassy. So feel free
So, after the documents had been prepared accordingly, I went to Netherland’s Embassy at Kuningan on November 3rd 2015 an hour before my appointment started at 10.30am. Oh you do not want to be late for visa appointment of course we were told to wait outside. We had waited for almost 20 minutes before I asked the security if there is some cafeteria inside where we could sit there and wait. I told them that our appointment is not due until 35 minutes and I am so thirsty and tired waiting outside (with hot temperature also!). Well, he allowed me (thank god!) to wait inside which apparently there is a HEMA Dutch restaurant inside the embassy area. Hence, we need to passed the security check first before entering the restaurant area.
So by 10.30 we went to the visa area, prep all the documents, being asked a few questions like passport number and the confirmation appointment (printed), and the visa application fee for 850,000 IDR (60 Euros). It needs to be paid in CASH (be prepared!). The security will tick the GREEN FORM that I mentioned earlier. You will received it later on after you finished filling the traveling form and prep all the documents.
Afterward, I was given a list of documents, and we must arranged the documents according to the list provided. I took the photograph service (wait for 5 minutes), then put my bag in a locker (you can only carry your wallet inside) then I entered the visa processing room. I waited for like an hour or so (15 peoples were queuing before me). Then my name was called. I had submitted the documents to the staff before they scanned my finger-print.
Afterward, I was given a confirmation form which stated that I can pick up my passport by Thursday. WOW! That fast.. only 2 days of visa process it was super fast and easy. By 12.00 noon I had finished all the process and enjoyed my luncheon else where..
So that’s it from me, do experienced the process and I do wish you the best! Oh yeah, you can also check out my other articles here! Chao!


